Introduction
Replacing cast iron pipes is a significant home improvement project, often necessary to prevent leaks, clogs, and other plumbing issues. This comprehensive guide will walk you through the process, from getting multiple quotes to ensuring the work meets city inspection standards. With detailed insights and practical advice, you’ll be well-equipped to handle this complex task efficiently and cost-effectively.
Understanding the Need for Replacement
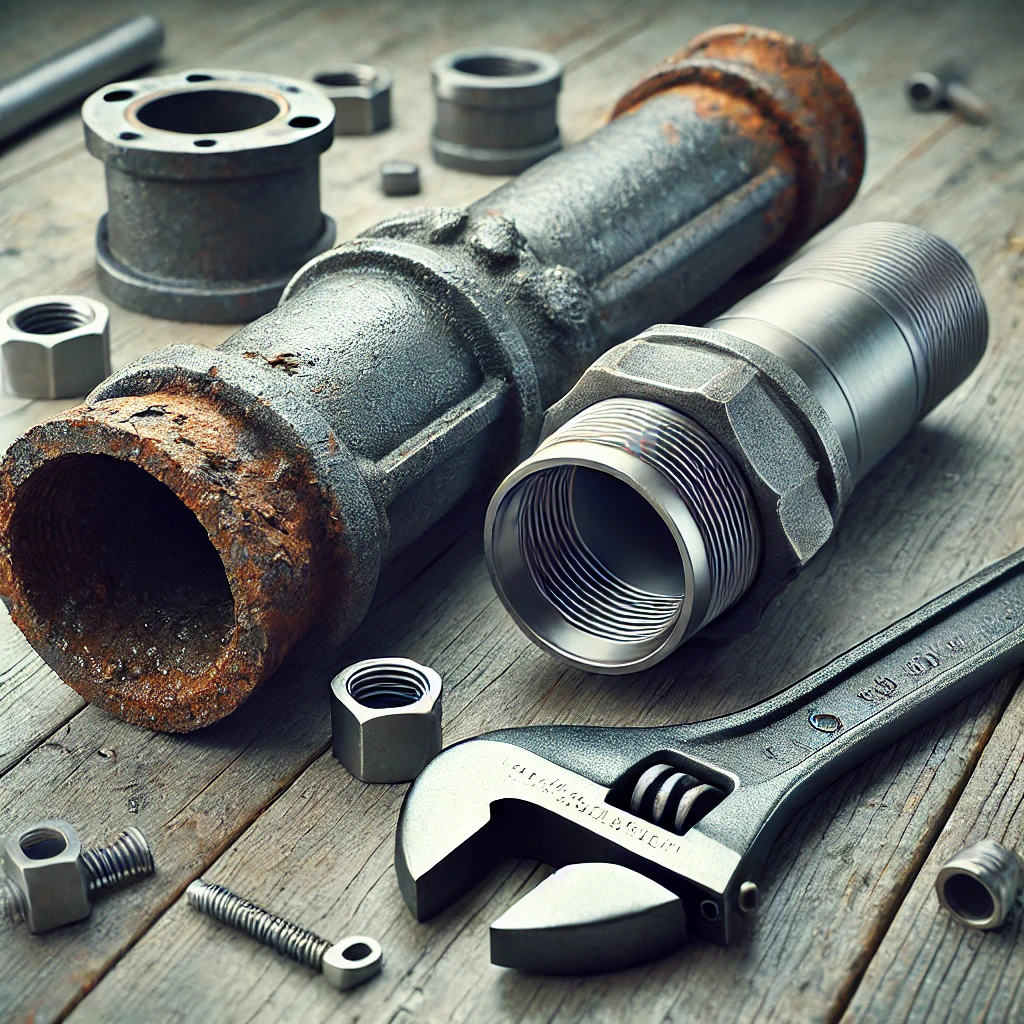
Cast iron pipes, while durable, have a lifespan of about 50-100 years. Over time, they can corrode, crack, and develop leaks. If you notice slow drains, frequent clogs, or unusual odors, it might be time to consider replacing your cast iron pipes.
Step 1: Getting Multiple Quotes
Research and Contact: Begin by researching local plumbing contractors who specialize in cast iron pipe replacement. Look for reputable companies with good reviews and a strong track record. Contact at least three different contractors to get quotes.
Detailed Estimates: Ensure that each quote includes a detailed breakdown of costs. This should cover materials, labor, permit fees, and any potential additional charges. A thorough estimate helps you compare costs accurately and avoid hidden fees.
Questions to Ask:
- How many cast iron pipe replacements have you completed?
- Can you provide references from previous clients?
- Are there any potential additional costs we should be aware of?
Step 2: Vetting Contractors
Experience and References: Experience is crucial for a job as complex as replacing cast iron pipes. Ask potential contractors how many similar jobs they have completed and request references. Follow up with these references to verify the quality of the contractor’s work.
Licensing and Insurance: Confirm that the contractor is licensed, bonded, and insured. Licensing ensures they meet local regulations, while insurance protects you from liability in case of accidents or damage during the project.
Contractor vs. Subcontractor: Determine if the contractor will be doing the work themselves or subcontracting parts of the job. Vet any subcontractors with the same rigor you use for the main contractor.
Step 3: Inspection and Permits
City Inspector: A city inspector should evaluate the work to ensure it meets local building codes and safety standards. This is typically arranged by the contractor but confirm that it will be done.
Permits: Verify that all necessary permits are obtained before work begins. This is crucial for compliance with local laws and avoiding future complications.
Step 4: Scope of Work
Trenching vs. Plumbing: Clarify who will be responsible for trenching (digging up the old pipes) versus the actual plumbing work. Some companies handle both, while others may only do the plumbing. Understanding this helps in assessing quotes accurately.
Extent of Replacement: Confirm whether the work will extend to the city sewer line or stop at your property line. If the sewer line is involved, additional permits and inspections may be required.
Obstacles: Ask how they handle obstacles like rocks, tree roots, and other underground obstructions. Ensure this is included in the quote to avoid unexpected costs.
Questions to Ask:
- Who will be responsible for trenching?
- Does the replacement include connections to the city sewer line?
- How will you handle underground obstacles?
Step 5: Additional Considerations
Drywall and Stacks: If the pipes run through walls, confirm whether the contractor will replace any drywall they remove and if they will handle vent stacks that go to the roof.
Down Drains: Verify if the replacement includes all down drains (pipes leading from toilets, washing machines, sinks, etc.). Comprehensive replacement ensures that all potential problem areas are addressed.
Unexpected Costs: Inquire about potential unexpected costs, such as discovering additional damage once work begins. Have a contingency budget in place to cover these expenses.
Step 6: Warranty and Insurance
Work Warranty: Ask if the contractor provides a warranty for their work. Typical warranties range from one to five years and should cover both materials and labor. A good warranty gives you peace of mind and protection against future issues.
Insurance: Ensure that the contractor’s insurance covers any potential damages during the project. This protects your property and reduces liability.
Questions to Ask:
- What is the duration of the work warranty?
- Does the warranty cover both materials and labor?
- What type of insurance coverage do you have?
Step 7: Final Steps
Cleanup: Confirm that the contractor will clean up the site after completing the work. This includes removing debris, restoring landscaping, and repairing any disturbed areas.
Inspection and Approval: After the work is done, a city inspector should sign off on the job to ensure it meets all regulations and standards. This final approval is crucial for your records and future property sales.
Customer Satisfaction: Finally, ensure that you are satisfied with the work before making the final payment. Inspect the work yourself and address any concerns with the contractor promptly.
Common Challenges and Solutions
Unexpected Damage: Sometimes, additional damage is discovered during the replacement process. Having a contingency budget and a clear communication line with your contractor helps manage these surprises.
Delays: Weather, permit delays, and other unforeseen factors can extend the project timeline. Discuss potential delays with your contractor and plan accordingly.
Communication Issues: Clear and frequent communication with your contractor is essential. Regular updates help ensure that the project stays on track and any issues are addressed promptly.
Conclusion
Replacing cast iron pipes is a complex but necessary project to maintain your home’s plumbing system. By following these steps, you can ensure a smooth, cost-effective process. Always do thorough research, get detailed quotes, and communicate clearly with your contractor to avoid any surprises.
With careful planning and the right contractor, your cast iron pipe replacement can be completed efficiently, protecting your home from future plumbing issues.
